Wednesday, February 6, 2013

Meet My New Kitchen

I am finally finished with our kitchen remodel, well the cabinet/counter top part anyways. I still have plans to redo the kitchen island and another small piece of furniture that I scored at a sidewalk sale in downtown Monroe. I told Scott that I wanted chalk paint for Valentine's Day so I could start playing with all of our furniture. I am in the mood to start working on different parts of our house. I think I should go with this because for awhile, I was too nervous to touch anything for fear of messing up. Now that I am finished with the kitchen, I have a little more faith in my abilities. Here are a few pictures of the redo.
 This is what our kitchen looked like before. I absolutely hated the faux wood counter tops. We purchased the Giani Chocolate Brown kit. Step one: Prime everything you want to cover. The primer in this kit is black and it covered the back splash and the counter top.
 Step Two: You have to sponge three minerals onto the surface that you want to look like marble. We decided to cover the counter tops only.
 Step Three: You have to seal the counter tops. It says to put a minimum of three coats, however, most of the research I have done said that you can get away with two. I like to follow instructions, so three it is.
We decided to paint the back splash for now to coordinate with the rest of the room. I have been contemplating changing up the decor. I guess I will have a lot of fun shopping around for a few new things.

Scott and I are both excited about our new kitchen. The difference is outstanding. I think this gave us the look we were going for, for less than $130! The kit is only $70, but after purchasing a few other supplies for the cabinet staining and back splash painting, we spent around $130. I like inexpensive and I believe we got a lot of good change for our money. One day I would like to have real marble counter tops with an iron back splash, but for now, this will work for us.

Wednesday, January 30, 2013

Kitchen Redo

I have finally decided to get busy on our kitchen. I am tired of looking at it wanting to do something different and not touching it. It took me awhile to figure out exactly what I wanted to do and honestly, I am not sure that what we are currently doing is exactly what I want to do. However, anything is a huge improvement and will buy me more time until we can completely remodel the kitchen. I am talking, demolish the current kitchen and start over. We have a large space to work with, but it will probably be another 5-7 years before that can even happen. Therefore, I want something done for the time being.

I have done a lot of research on staining cabinets w/out having to strip them of their current stain and sealant. I chose a darker shade of Minwax Polystain. I think that the color we chose on top of the color we currently have will give us a nice rich color.

Scott and I started the staining process last night. The Minwax product that we are using allows us to stain and seal in one step and you do not have to strip the current stain and seal from your cabinets as long as they were originally sealed with poly. Luckily, ours were sealed with poly. I was jumping for joy after our test strip dried with no issues. The first coat took about an hour to apply and did not change the color of the cabinets drastically. it made the color a little darker and richer. We plan to apply at least two more coats, if not more, to achieve a darker, richer color. Our fingers are crossed.

Here is a picture of our cabinets after coat number one. I will post more as we do more. As soon as we are finished with the cabinets (I plan on finishing them tonight), I plan on repainting the counter tops. I am very nervous about that! I hate the faux wood look and I cannot wait to change it. Honestly, anything will be an improvement!


Monday, January 28, 2013

DIY Burlap Earring Hanger

This weekend Scott and the boys went on a camping trip in Arkansas. They were supposed to be gone Friday and Saturday night, however, their trip was cut short due to inclement weather. Friday night, my friend Brittany stayed with me so we could catch up and shop, shop, shop. We went to Marion, LA to a little flea market that we have been dying to visit. A Little Bit of Everything, is just that. She literally has a little bit of everything. Britt and I both bought something there and then we were off to Paul Micheal's, Dirt Cheap, Hobby Lobby and Peking. It was a great night. Saturday we woke up early, got dressed and drove to Ruston, LA. We went to another little shop that we had been wanting to visit. Brittany found a cute little bench that she plans to recover and paint from Callie's Corner and we both found a few little things from Rolling Hills. Afterwards we ate at Ryan's because they have fabulous rolls and then we headed back to West Monroe, LA. We went to Frog's Flea Market and Sam's. When we were finished, Britt went home to her husband and I went home to an empty house. I decided that I would be productive and replace the fabric on our kitchen chairs. They are currently this hideous faux burlap. I decided to recover them with real burlap and the end result is a huge improvement. Now I am thinking that I want to paint the chairs as well, but I guess I will save that for another day.

I have been wanting to make a jewelry hanger for my dangle earrings. I have a lot of jewelry that I never wear because it stays put up. I have had the stuff to make it for months now, and I finally decided that this would be the weekend I would make it. It would be nice and quiet in the house and I would need something to keep my mind off of the fact that I was alone! I hate to admit it, but I am terrified to stay in our house alone. Luck for me, Scott and the boys had to cut their trip short. I hated it for them but I enjoyed the company and the family time we were able to have due to the fact that their trip was shorter than planned.

Here are a few pictures of my earring hanger. Please excuse the quality of the pictures. I used my phone to take them. I need to stop being so lazy about taking pictures! The convenience of my camera phone has me spoiled.


I am not finished hanging all of my earrings, however, I am loving this! Now I can see everything that I have to choose from and I do not forget about the cute little black flowers, or the different variations of pearls. I love having my options in front of me, instead of in a jewelry box in my closet. Next I want to create something for my necklaces and bracelets. I do not have tons of costume jewelry, so I am sure I can come up with something inexpensive. However, this makes me want to buy more and more jewelry!

Steps I took to create my hanger.
  1.  I bought a frame from the local Goodwill store and removed the back and glass.
  2. I measured my burlap to fit the outside of the frame.
  3. I took a heavy duty stapler and worked my way around the burlap, stapling as I went. I learned that it was easier to staple the top first and then move from side to side as I moved down the frame. It ensured that my burlap was tight. I didn't want it to droop. 
  4. I cut away all of the excess burlap and hung my frame on the wall. My frame had a hanger already installed on the back. If yours does not, you could attach one or hang your hanger with pretty ribbon. 
I thought long and hard about painting my burlap, stenciling something on my burlap or attaching a pretty burlap bow or flower. I decided not to do that until I had all of my jewelry hanging up there. I didn't want to take away and space that could be used for jewelry. However, from the look of things, I will probably have a little room to add a little something to spice things up a bit. 

It was a fun little project that I am very happy with. I will post pictures of the entire wall when I figure out what I want to do for my necklaces and bracelets. I'm thinking a towel rod and random hooks? We will see! I am determined to finish this before the weekend arrives.

Wednesday, January 23, 2013

A Walk Through the Zoo

Monday the boys were out of school and Scott was off of work for Martin Luther King Day. I decided I would take the day off to spend at home with them. I'm so glad I decided to do that because it really turned out to be a great day. The boys have been "craving" Olive Garden, so Scott and I took them to Olive Garden for salad and bread sticks. They each ordered off of the children's menu and Scott and I both tried something new off of their lunch menu. It was a nice lunch out. I wish we were able to do that more often. Afterwards, we took them to the zoo. The Monroe Zoo is nothing spectacular, actually it is kind of run down. You could tell they are trying to make improvements, however, they are not coming along as fast as they should be. It was a great day to take a stroll through the zoo as it was not too crowded. We took our time walking from exhibit to exhibit. Shaun's favorite "animal" was the fruit bat and Mason's favorite animal was the black bear. I am partial to the lions and tigers, while Scott is partial to the exotic birds. I think we spent about two hours at the zoo. It was a nice day! The only hiccup we had was me allowing Scott to dress the boys. Bless his heart! He had walked our puppies earlier that morning and thought that long sleeved t-shirts would be sufficient. I made him take me to Old Navy after lunch so that I could find hoodies or jackets for all of us so that we would not freeze to death. The wind was so cold. I am a bargain shopper and was able to find Mason a hoodie for $2.47, Shaun a hoodie for $3.47, Scott a zip-up hoodie for $8.99 and a zip-up jacket for myself for $10. Not to mention, I earned $10 Old Navy Bucks!!!! I was happy and we were all warm.


Tuesday, January 22, 2013

Pinewood Derby 2013

This past Saturday was the kickoff for the 2013 Pinewood Derby. There were 18 little boys competing for 1st through 6th place and it was intense. Scott and the boys have been working on their cars for the past two weeks. This is our first time to compete in the Pinewood Derby, so we did not know all of the little secrets to making your car go faster. We were able to do a few things to the cars that we thought might help, but since it was our first year, we knew we would have to wait and find out if they really worked or not.

It was a beautiful day and all of the little boys in our troop were excited. Shaun and Mason signed their cars in to be measured and weighed and then waited for the race to begin. Honestly, I think I was just as excited as they were and I know that Scott was jumping up and down on the inside. It was one of my favorite things that we have all done together as far as Cub Scouts are concerned. My parents even came out. Dad offered to be Shaun's pit manager next year and wants to help him build his car.

The race began and Shaun's car was drawn to be in the first race and Mason's car was drawn to be in the second race. Both of the boys won 2nd place during their first races and were so excited to have not come in last. In the end, both of the boys had won 1st place at least once and Mason was able to place 6th place overall. He will be going to Regionals in February. We are excited for him and can't wait to see him in action. We plan on working on his car a little more before the race to see what we can do to make it even faster.

Here are a few tips we received at the race from the 1st and 2nd place contestants.
  1. Put all of the weight towards the back
  2. Have a sleek body style
  3. Cover your car w/ something like polyurethane for a smoother surface
  4. Build your car so that only 3 out of 4 wheels touch the ground
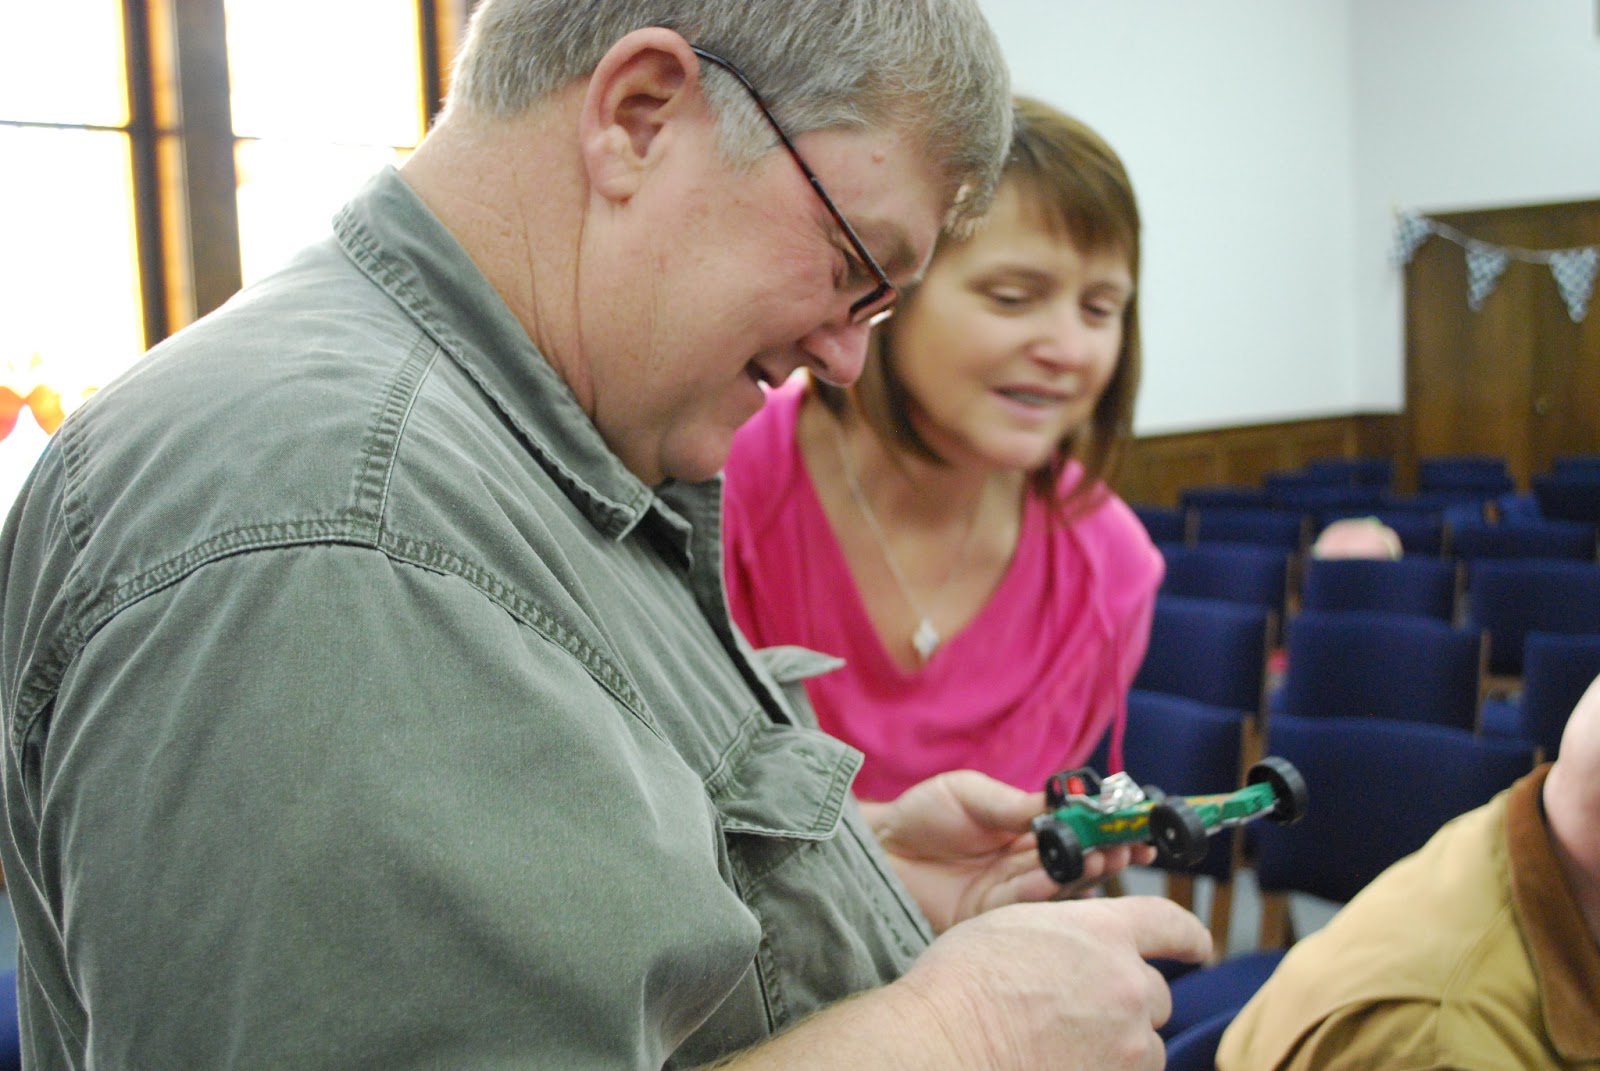
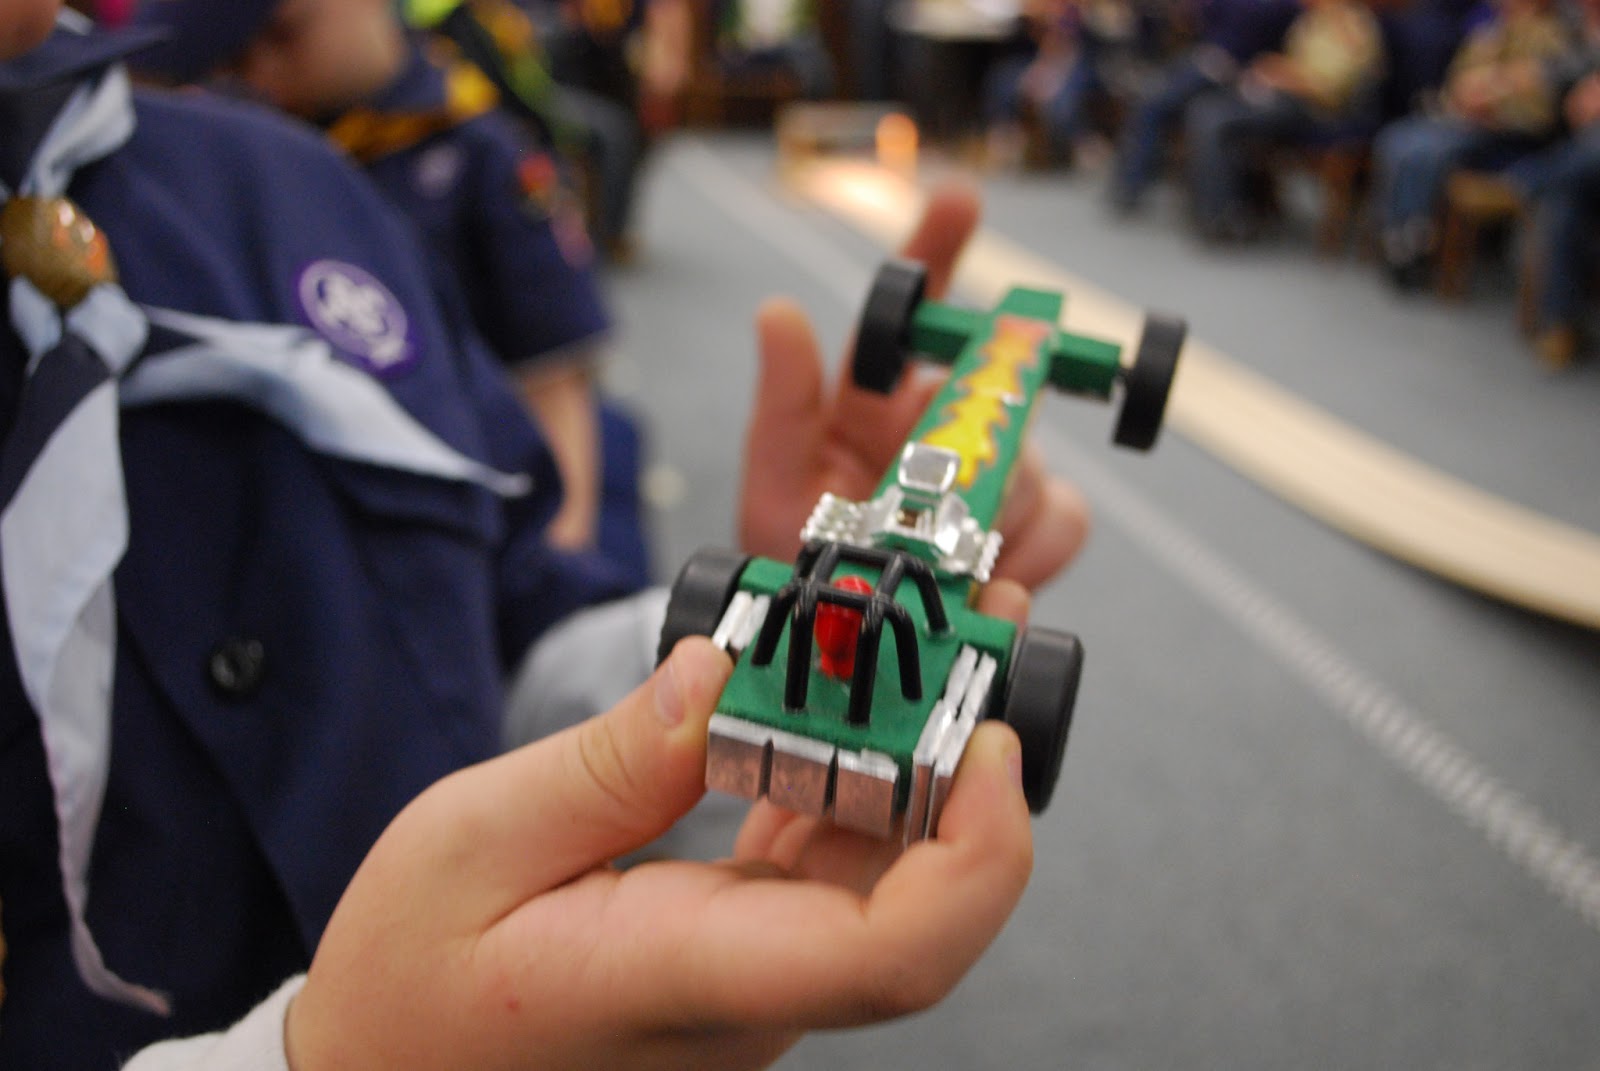
Here are a few pictures from the race. Mason's car is black with orange pin stripes and orange flames. Shaun's car is green with orange flames. 


Thursday, January 17, 2013

I Heart Burlap

The boys changed elementary schools this week. I was nervous about the change, only because I know that if it was me, I would be nervous about meeting new friends, finding the bathroom, catching up, etc. However, I am a worry wart! The boys have done great so far. They seem to really like their new teachers and they both know a few kids in each of their classes from boy scouts and church. As long as they are happy, I am happy! At the beginning of this school year, the boys and I made burlap pumpkins for their new teachers. So, I only thought it would be fair to make their new teachers at their new school a burlap door hanger as well. Valentine's Day is around the corner so we decided that we would make them each a monogrammed heart. Here are the results!

We were happy with the way that they turned out. Both of the boys wanted the black, green and red heart because they thought it looked cooler, but we finally convinced Mason that his teacher would probably prefer the pink heart. I didn't want their teachers to have the same door hanger. They were both happy in the end.

I just love how simple these are to make. All you need is burlap, paint, hot glue, Wal-Mart bags to stuff between the two layers, and whatever you want to decorate your heart with.

Here is another one that I made for one of the ladies that I work with. I love the way hers turned out. I think I will start fraying the burlap around the edges from now on. It just adds a little something extra to the finished product!


Monday, January 14, 2013

Shaun Turns 10!

We celebrated Shaun's birthday this weekend. He turns 10 today! He decided to have his birthday party at Underwater Treasures this year so that he could have a pool party in January. There was a nice turnout of kids and family. The kids had a lot of fun swimming while the adults had a lot of fun catching up and visiting. Shaun was very blessed because he was able to spend so much time with his friends and family. He was also blessed with everything that he was given. We had one very excited young man by the time the party was over with.

This year, Shaun decided that he wanted a Ninjago themed birthday party. You would think, as popular as Ninjago is, that you would be able to find more party favors, plates, banners, invites, etc. However, most everything that I found was handmade on Etsy. I would rather take the time and make it myself than I had pay someone to do something I am capable of. Needless to say, I made Shaun's invitations using PowerPoint and bought  Ninja swords and little Ninjas from Amazon to make his party favors with. I didn't want to have the typical party favor bag at his party. I wanted each kid to be able to take home a toy. I put the Ninjas in little clear bags and attached them, along with a Thank You Note from Shaun to each sword. For the girls, I attached bracelets in little clear bags to the swords. I didn't think the girls that attended would be excited about getting little Ninjas and I was right. The party favors were a big hit.

Here are a few pictures from his party. I plan on posting a few more as soon as my photo editor is up and running again. As for now, this is what I have.